People Grow, Life Changes, Yet The Build Lives On
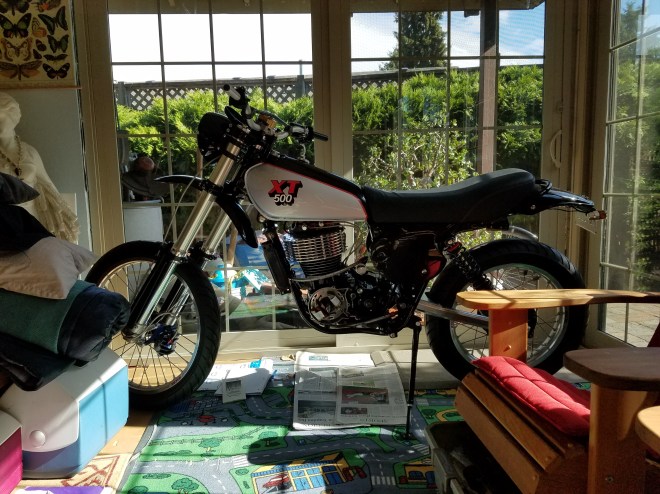
Home, this is where we now are, where we have both previously been, though our residency most recently here belongs to the XT500. While in bits and pieces it hasn’t been as long, but time is approaching 4 years since the machine held a similar distinction, a similar form to what you see here. For myself, it has been nearly twice as long since this place has been home, and even then this actual room didn’t even exist then. Just a dismal few yards separate where this machine last breathed life, and just as measurable in mere numbers, but much less attainable the time passage since that event. Perhaps the most interesting aspect of this situation is the fact that my bed is pictured here, the floor, a sleeping pad graciously given to me by an incredible woman, and a much familiar sleeping bag. People are calling me crazy for putting myself through this, but with the uncertainty of where and what I will be doing next, this works, and I can say I am humbled to wake every day inspired and happy for the person, the man that I am, normalcy may one day come, but I claim not quite yet.
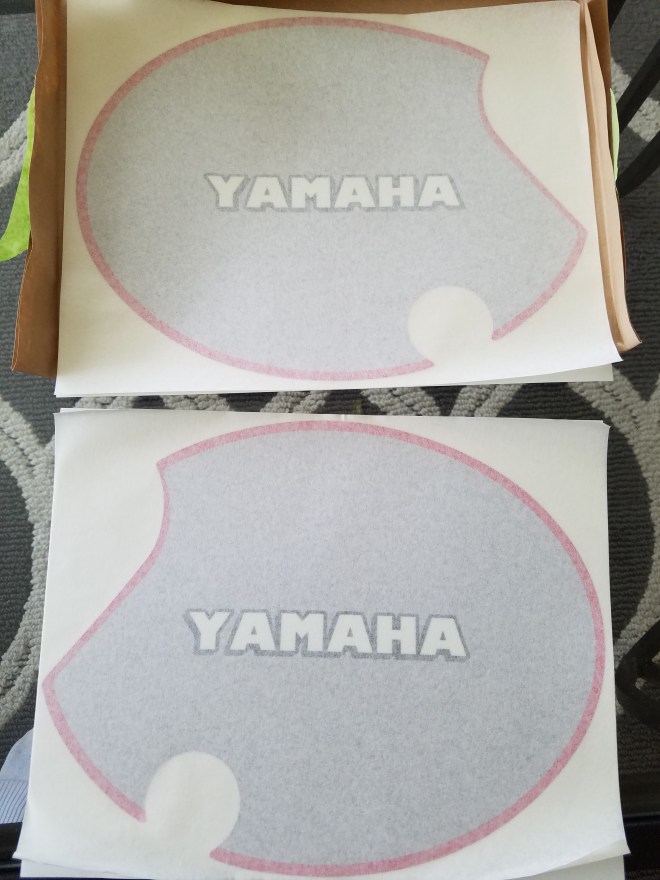
Getting back to the build, there has been one development that has been completed and can be shown, the side cover decals. Mr. Yamaha received my written request and graciously allowed me to use the “Yamaha” verbiage for this project. With this allowance, No Dinx was happy to fulfill my printing needs, while being certain that all renderings were exactly as I wanted them to be printed and cut. The results are exactly as I had designed them to be, even if they aren’t actually resting where they should be just yet, but soon they shall. Overall, I am overjoyed to know that I fully designed, inquired, and will see this simple aspect added to this machine, with the familiar notion that this contains more than the sum of its parts.
The next gallery though limited in pictures, is full of at least one full days work of wiring and troubleshooting. The hope was to get all of the non essential running elements working and tested with 12 volts, though this won’t be possible when the bike isn’t running due to my want to run a capacitor, versus a battery. So, tasks included to finish here; indicators, horn, headlight, rectifier, taillight control module, taillight led 2 in 1 wire, taillight illumination, ignition switch, and proper grounds. Thankfully, with care and patience all aspects are working, except the led indicators which require 8ohm resistors to match the incandescent current draw, which were found online and awaiting installation and testing. Now, the actual fit and finish may not be complete, but the system is working as intended, which itself is a beautiful thing indeed.
A cute little video to actually see and hear some of the efforts described, again mind the present visual mess, it will be tidied next.
Onto the previously mentioned side cover decals, it is time to see just how well they will fit, as well as how well they will compliment the overall theme and style of their partner, the fuel tank. Upon first inspection of the decals, the manner in which they were printed leaves no room for prior inspection, as the front pulling paper is more adhesive than the backing paper. Which, is of course perfect for installation, but for a permanent irreversible placement from a first run design print, it might have placed more comfort in myself to have seen them prior to installation. A little faith and trust in yourself and your work will yield rewarding results if you take care and pride in what you are working on, and I have faith that these will appeal and bring satisfaction in myself. So, the process would seem simple enough, apply and call it a day, right? Well, I’ll say that my patience lasted roughly 3 hours from instantiation, to final results and materials cleanup. A thorough prepping and degreasing of the panels must occur first, even the oils of your hands can hinder long term adhesion, so gloves are appropriate in handling. Next, the most minor solution of dish soap and water in a sprayer for the ability to gently fine tune the decal placement, rather than a dry set one and done as it were. Prep the panels with a healthy application of solution, and I elected to tape the decals to the top straight edge of the panels, and apply adhesion from the top down, peel and stick from the backing paper. With the addition of water in application there will be plenty of spreading from center outwards to remove all water and promote adhesion, and can be done with a putty spreader and plenty of water atop the decal as well. Patience and meticulous care yielded the following results from an otherwise straightforward and simple process.


Here too is a comparison on the machine itself, and I cannot say how proud I am for have taking a risk to make these, be it a very time consuming process, it was far exceeding my expectations and was actually very affordable. Yet another personal touch that adds conversation and curiosity for observers, as well as the creator (me that is!).
